
Today, we’ll delve into how to create a simple circuit diagram using a resistor and perform DC analysis with Qucs Studio. Mastering this basic process will solidify your foundation in electronic engineering.
1. Creating the Circuit Diagram
First, open Qucs Studio and create a circuit diagram using a basic component, the resistor. This process involves learning how to place resistors and connect the circuit. Even a simple circuit can help you understand the fundamental principles of electronic engineering.
2. Performing DC Analysis
Once the circuit diagram is complete, the next step is to perform DC analysis. This analysis reveals the voltage values at each node in the circuit, helping you understand how the circuit operates and how each component interacts with one another.
3. Detailed Explanation
Our explanation follows the official Qucs Studio tutorial (YouTube Link). This tutorial visually unfolds the process from creating the circuit diagram to performing DC analysis. Our blog further elaborates on these steps, making them more accessible to beginners.
Electronic engineering requires a balance between knowledge and practice. We hope our blog helps you acquire basic skills and deepen your understanding. Let’s start our journey with Qucs Studio together!
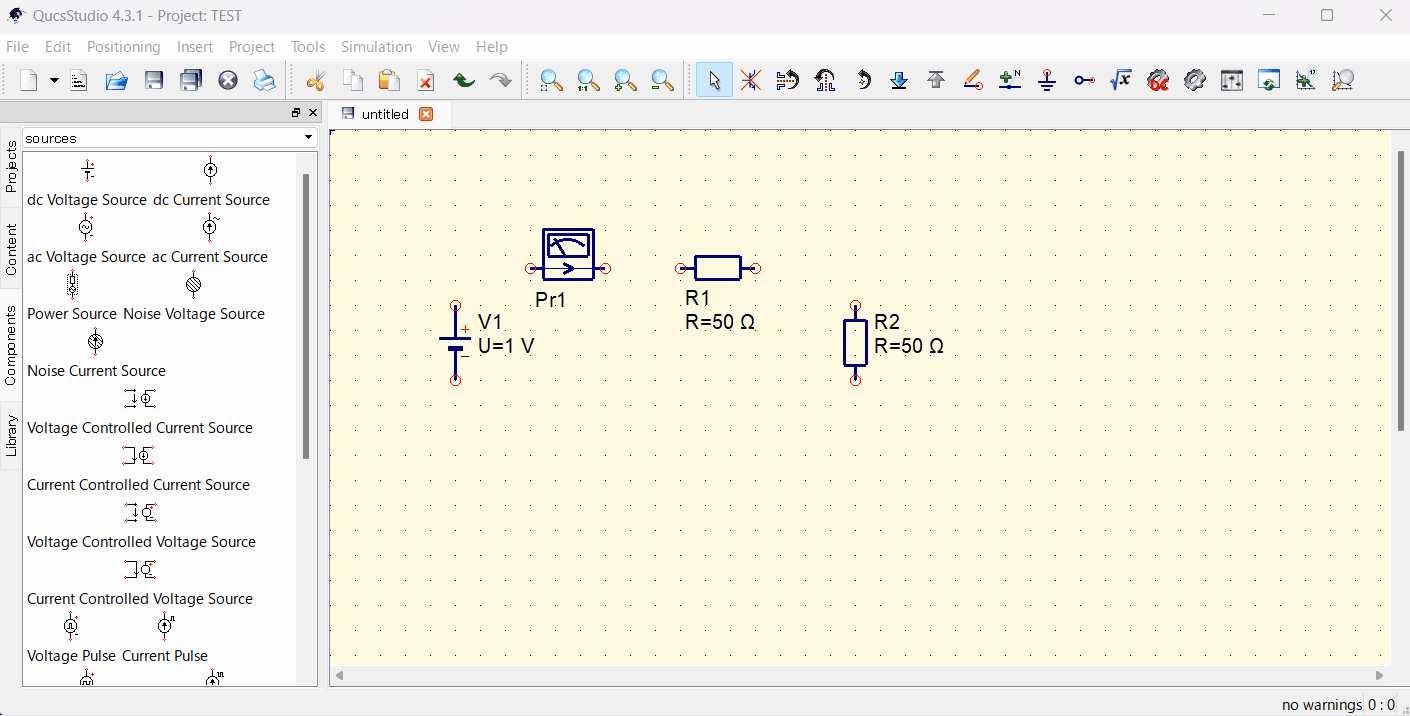
Step 1: Selecting and Placing Components
- Select the necessary components from the component area and place them on the circuit diagram.
- Right-click the component to adjust its orientation.
Double-click the resistor and move the mouse over the circuit diagram.
Right-clicking allows you to rotate the orientation of the component. Decide on the angle, then click the left button to place it. Also, place a DC power source and a current meter.
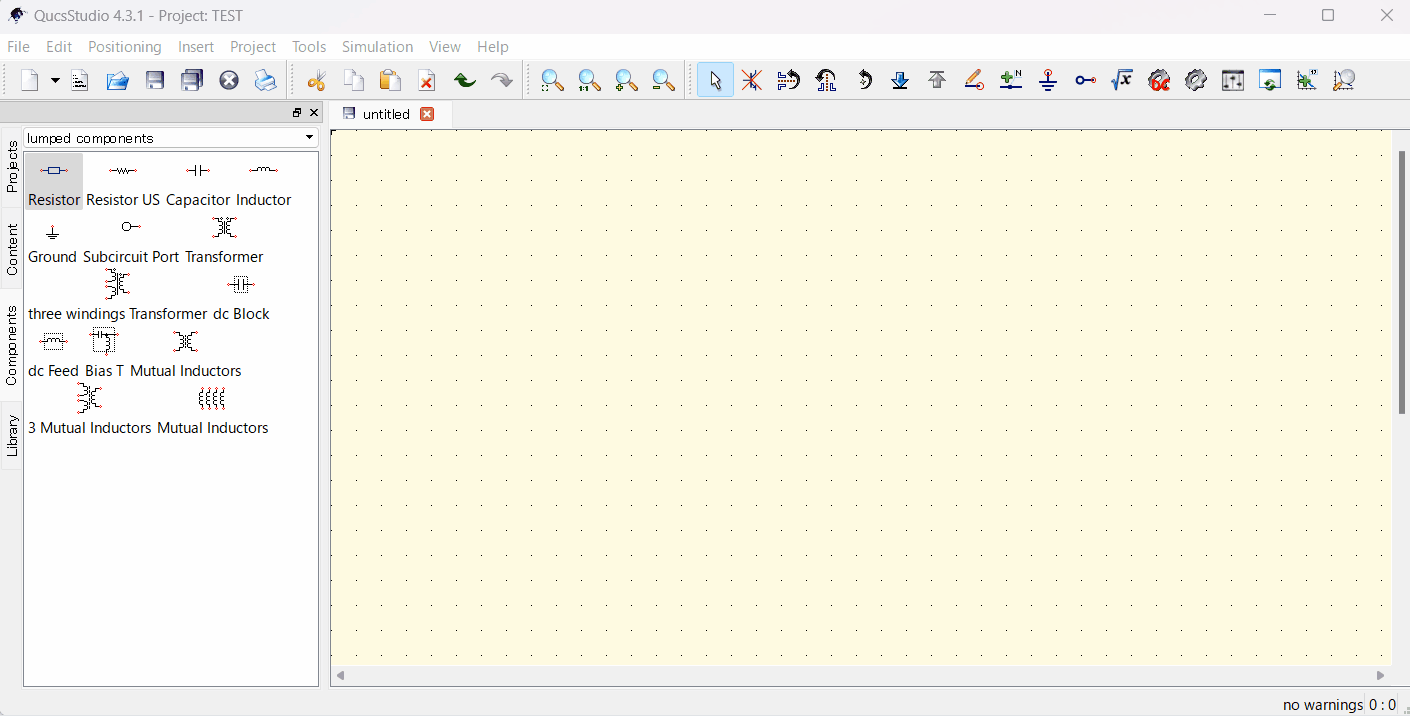
Resistor: lumped components-Resistor
DC Power Source: sources-dc Voltage source
Current Meter: devices-Current Probe
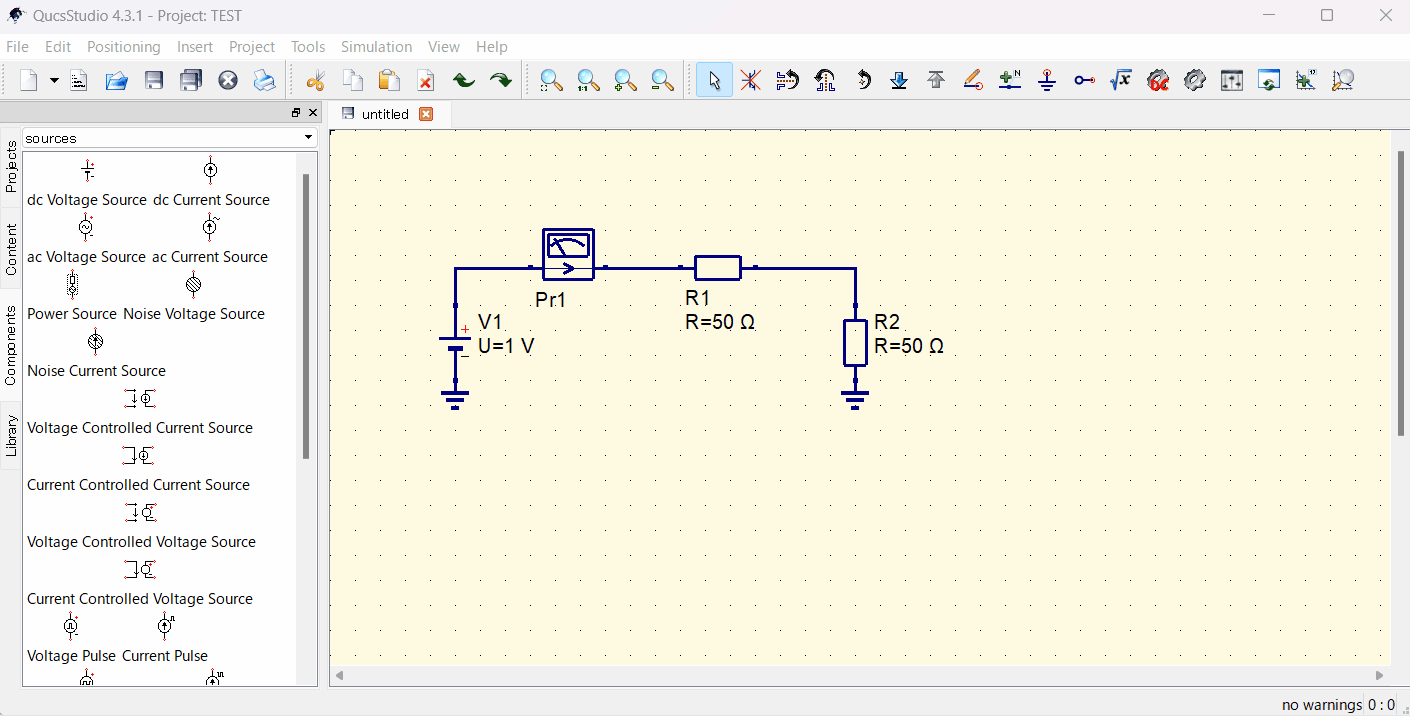
Step 2: Constructing the Circuit
- Add a grounding symbol and connect it to GND.
- Use wires to connect components. If the wiring doesn’t bend as intended, right-clicking allows you to change the direction of the bend.
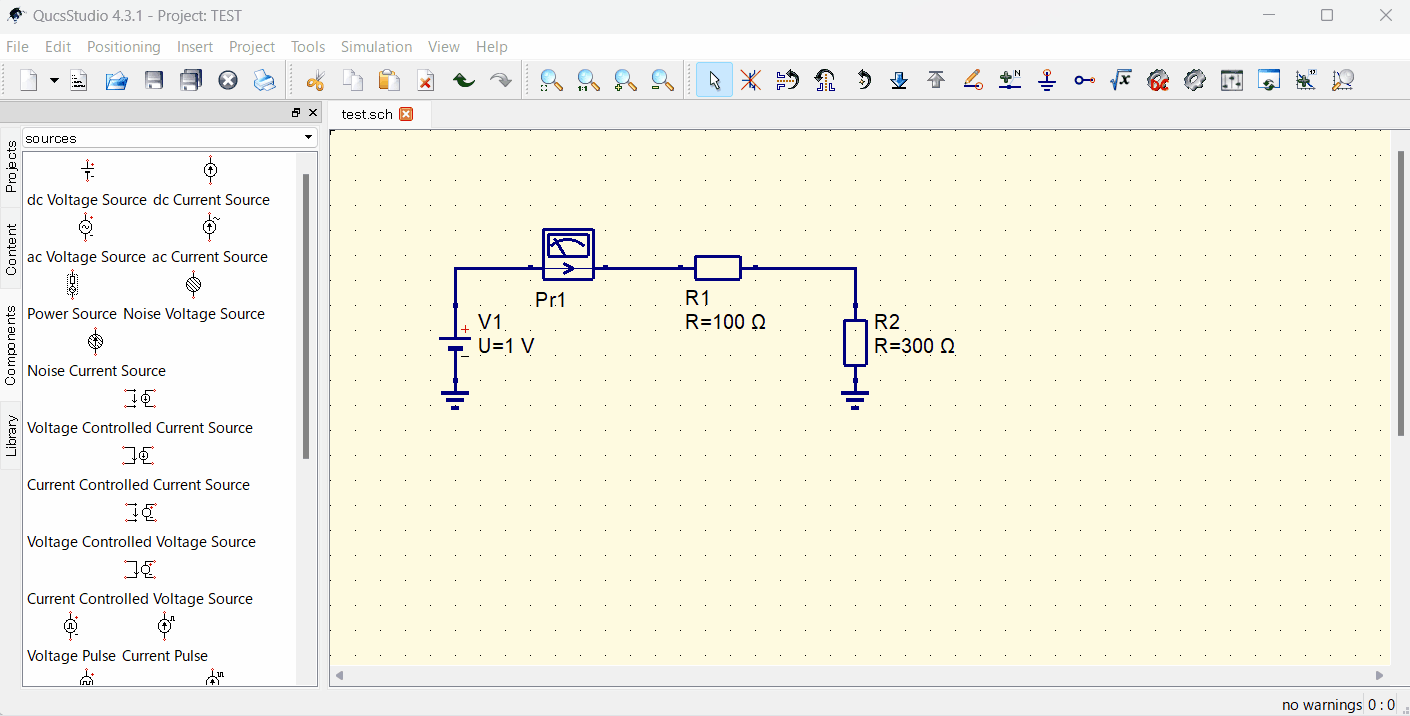
Step 3: Editing Component Properties
- Select a component and edit its value as necessary.
You can change values on the circuit diagram, but double-clicking a component opens its properties, where changes can also be made.
For this example, we’ve set R1=100Ω, R2=300Ω, and voltage=1V.
Step 4: Running the Simulation and Checking the Results
- Run the simulation and check the results.
To simulate DC bias, simply press the Calculate DC bias button at the top right.
Step 5: Verifying Simulation Results
Performing DC bias analysis displays voltage values at each node. If you’ve included voltmeters or ammeters in the circuit, their readings will also be shown.
Conclusion
Creating projects in Qucs Studio simplifies the design and simulation of electronic circuits. Even beginners can smoothly start their projects by following the basic steps. Most importantly, trying it out for yourself is crucial. Open Qucs Studio and dive into the world of electronic engineering!


コメント